Ubuntu systems need the git command before they can clone repositories, create commits, fetch changes, or run development workflows that depend on version control from the shell.
The supported package-manager path is the git package from the active Ubuntu repositories. That package installs the command-line client plus manual pages and runtime dependencies through APT, so future security and maintenance updates come through the same update mechanism as the rest of the system.
The packaged version is tied to the Ubuntu release. Use the repository package when the goal is a maintained Git client on an Ubuntu desktop, server, container, or VM; use a newer upstream source only when a specific Git feature is missing from the distro package.
Related: How to configure Git user name and email
Related: How to clone a Git repository
Related: How to create a local Git repository
Steps to install Git on Ubuntu:
- Open a terminal with sudo privileges.
- Refresh the APT package index.
$ sudo apt update
- Install the Git client package.
$ sudo apt install --assume-yes git
The git package also pulls in package dependencies such as git-man for manual pages. Minimal server or container installs may also add supporting packages such as certificates, OpenSSH client files, and Perl libraries.
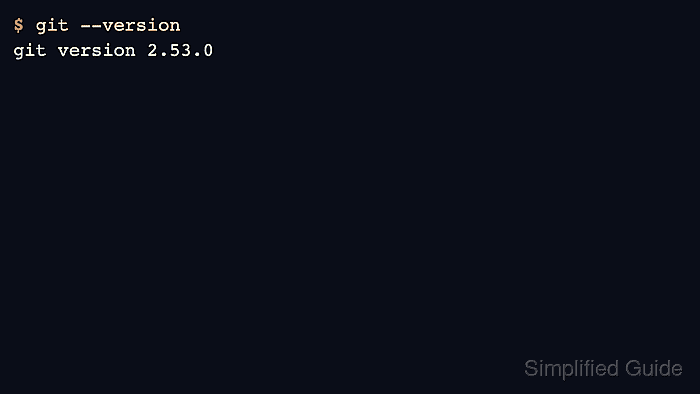
- Confirm the installed command runs.
$ git --version
git version 2.53.0
The exact version depends on the Ubuntu release and enabled update pocket. A successful install returns a git version line instead of command not found.
- Confirm APT knows about the installed package when package provenance matters.
$ dpkg-query -W git
git	1:2.53.0-1ubuntu1
This confirms the active system installed the Ubuntu git package. Related: How to list effective Git configuration
- Configure a Git author identity before creating commits on a new user account.

Mohd Shakir Zakaria is a cloud architect with deep roots in software development and open-source advocacy. Certified in AWS, Red Hat, VMware, ITIL, and Linux, he specializes in designing and managing robust cloud and on-premises infrastructures.


