Elasticsearch API keys let applications and automation authenticate without sharing a user's password. A dedicated key for each integration makes rotation, revocation, and privilege scoping easier when a pipeline, script, or host needs limited access to a cluster.
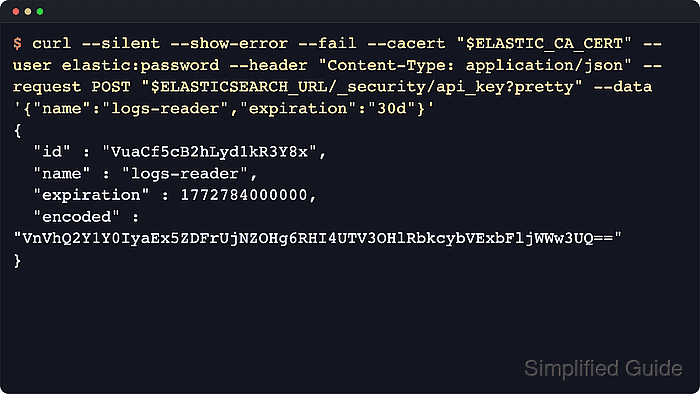
The security API creates keys with POST /_security/api_key. The request can name the key, set an expiration, attach metadata, and assign role_descriptors that limit what the key can read or write. The response returns the key id, the one-time api_key secret, and an encoded value for the Authorization: ApiKey header.
The API key service is enabled automatically on secured Elasticsearch clusters, and the caller needs at least the manage_own_api_key cluster privilege. If role_descriptors is omitted or empty, the key inherits a point-in-time snapshot of the authenticated user's permissions. Use a normal user credential when creating a scoped key, because a request authenticated by an existing API key can create only a derived key with no privileges.
Steps to create an Elasticsearch API key:
- Set the cluster URL used by the API calls.
$ export ELASTICSEARCH_URL="https://elasticsearch.example.net:9200"
Replace the URL with the authenticated HTTPS endpoint used by the target cluster.
- Create the scoped API key with the security API.
$ curl --silent --show-error --fail \
  --user elastic \
  --header "Content-Type: application/json" \
  --request POST "$ELASTICSEARCH_URL/_security/api_key?pretty" \
  --data '{
  "name": "logs-reader",
  "expiration": "30d",
  "metadata": {
    "application": "support-portal",
    "environment": {
      "name": "production"
    }
  },
  "role_descriptors": {
    "logs_reader": {
      "indices": [
        {
          "names": ["logs-*"],
          "privileges": ["read", "view_index_metadata"]
        }
      ]
    }
  }
}'
{
  "id" : "x7IL2Z4BL8jLtx7D9rA_",
  "name" : "logs-reader",
  "expiration" : 1784349900370,
  "api_key" : "M1nDQgBf8zbwEDa4p0uJTQ",
  "encoded" : "eDdJTDJaNEJMOGpMdHg3RDlyQV86TTFuRFFnQmY4emJ3RURhNHAwdUpUUQ=="
}
Store the returned api_key or encoded value immediately; Elasticsearch does not show the secret again. Using --user elastic lets curl prompt for the password instead of writing a literal password into shell history.
- Store the returned encoded value for the test request.
$ export ELASTIC_API_KEY="eDdJTDJaNEJMOGpMdHg3RDlyQV86TTFuRFFnQmY4emJ3RURhNHAwdUpUUQ=="
The encoded value is the base64 form of id:api_key. Elastic shippers that ask for the raw API key often expect the unencoded id:api_key pair instead.
- Confirm Elasticsearch accepts the new credential.
$ curl --silent --show-error --fail \
  --header "Authorization: ApiKey $ELASTIC_API_KEY" \
  "$ELASTICSEARCH_URL/_security/_authenticate?pretty"
{
  "username" : "elastic",
  "authentication_type" : "api_key",
  "api_key" : {
    "id" : "x7IL2Z4BL8jLtx7D9rA_",
    "name" : "logs-reader",
    "managed_by" : "elasticsearch"
  }
##### snipped #####
}
The response should show authentication_type as api_key and the expected key name or id.
- Test the API key against the intended index pattern before handing it to an application.
$ curl --silent --show-error --fail \
  --header "Authorization: ApiKey $ELASTIC_API_KEY" \
  "$ELASTICSEARCH_URL/logs-*/_count?pretty"
{
  "count" : 1,
  "_shards" : {
    "total" : 1,
    "successful" : 1,
    "skipped" : 0,
    "failed" : 0
  }
}
Use a verification request that matches the privileges granted to the key. Authentication success alone does not prove the key can access the intended indices or APIs.
- Remove the temporary shell variable after testing.
$ unset ELASTIC_API_KEY
Move production keys to the application's secret store or deployment credential system before handing them to an integration.

Mohd Shakir Zakaria is a cloud architect with deep roots in software development and open-source advocacy. Certified in AWS, Red Hat, VMware, ITIL, and Linux, he specializes in designing and managing robust cloud and on-premises infrastructures.


