How to copy files over SSH with rsync
An SSH transfer path is usable only when the remote account can start rsync and write the intended destination. Sending a release tree with rsync over SSH keeps authentication and host identity under OpenSSH while limiting the transfer to files that need to be created or updated.
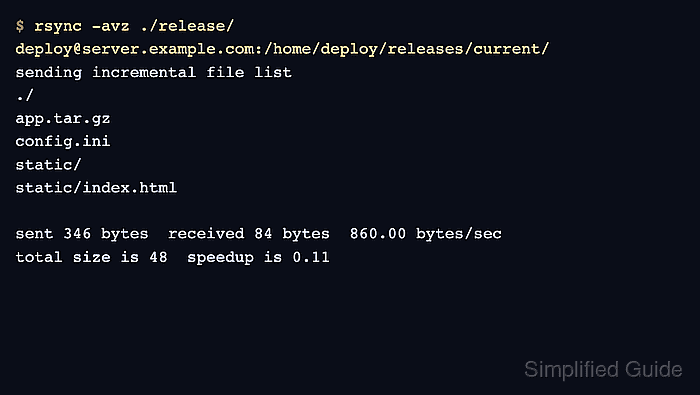
A single-colon target such as backup@backup.example.net:incoming/ starts the remote side through a remote shell transport, normally OpenSSH. The trailing slash on ./release/ copies that directory's contents into the destination instead of adding a second release/ level.
Both endpoints need rsync installed, and the dedicated remote account needs write access only to the receiving tree. A remote file listing proves the expected paths arrived, while matching local and remote checksums confirm that a representative release file crossed the SSH transport unchanged.
Steps to copy files over SSH with rsync:
- Confirm that the remote account can start rsync without an interactive prompt.
$ ssh -o BatchMode=yes backup@backup.example.net 'rsync --version'
rsync  version 3.4.1  protocol version 32
##### snipped #####
BatchMode refuses password and host-key confirmation prompts. Verify the server fingerprint through an independent channel and configure a dedicated key before relying on a noninteractive transfer.
Related: How to configure an SSH alias for rsync key authentication - Preview the exact source and destination before copying files.
$ rsync --archive --dry-run --itemize-changes \
  ./release/ backup@backup.example.net:incoming/
cd+++++++++ data/
<f+++++++++ data/archive.sparse
<f+++++++++ data/export.sql
cL+++++++++ data/latest-report.txt -> ../documents/report.txt
<f+++++++++ data/session.tmp
cd+++++++++ documents/
<f+++++++++ documents/notes.txt
<f+++++++++ documents/report-hardlink.txt
<f+++++++++ documents/report.txt
The trailing slash on ./release/ places data/ and documents/ directly inside the destination. Review every itemized path before running the live transfer.
Related: How to control rsync directory copies with trailing slashes
Related: How to preview rsync changes before syncing - Run the transfer by removing only --dry-run.
$ rsync --archive --itemize-changes \
  ./release/ backup@backup.example.net:incoming/
cd+++++++++ data/
<f+++++++++ data/archive.sparse
<f+++++++++ data/export.sql
cL+++++++++ data/latest-report.txt -> ../documents/report.txt
<f+++++++++ data/session.tmp
cd+++++++++ documents/
<f+++++++++ documents/notes.txt
<f+++++++++ documents/report-hardlink.txt
<f+++++++++ documents/report.txt
This additive transfer updates matching paths and creates missing ones; it does not remove destination-only files. Use --delete only for an explicitly reviewed mirror operation.
Related: How to mirror a directory with rsync and delete extra files - List the regular files in the remote tree.
$ ssh backup@backup.example.net 'find incoming -type f -print'
incoming/data/archive.sparse
incoming/data/session.tmp
incoming/data/export.sql
incoming/documents/notes.txt
incoming/documents/report.txt
incoming/documents/report-hardlink.txt
- Calculate the checksum for a representative source file.
$ sha256sum ./release/documents/report.txt
b9e445d23db5b1b75161de07bb9b39253fd7296305cbb447eaf45cfa7cb55277  ./release/documents/report.txt
- Calculate the checksum for the remote copy and compare both hashes.
$ ssh backup@backup.example.net 'sha256sum incoming/documents/report.txt'
b9e445d23db5b1b75161de07bb9b39253fd7296305cbb447eaf45cfa7cb55277  incoming/documents/report.txt
Matching SHA-256 values confirm that the representative file arrived unchanged and remains readable through the same SSH account.