How to create a table in phpMyAdmin
A database table turns application records into named columns with rules for identity, text, numbers, dates, and missing values. phpMyAdmin provides the database server's table editor in a browser, which is useful when a small schema needs to be created without writing a CREATE TABLE statement.
The signed-in MySQL or MariaDB account must be allowed to create tables in the selected database. Inserting and browsing the test row also requires INSERT and SELECT privileges, so a restricted account may complete only part of the flow.
An auto-incrementing primary key gives each row a distinct identifier, while InnoDB supports transactions and foreign keys. Column lengths and nullability should still follow the application's data requirements rather than being copied unchanged from a sample schema.
Steps to create a table in phpMyAdmin:
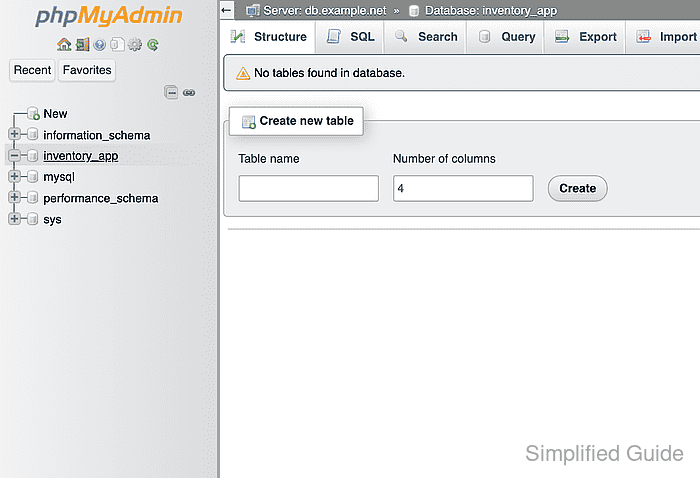
- Select inventory_app from the left navigation.
The selected account needs CREATE, INSERT, and SELECT privileges for the complete walkthrough.
Related: Create a database in phpMyAdmin
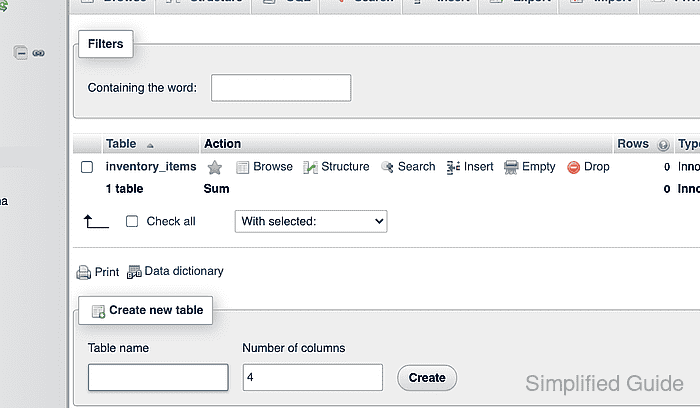
Related: Grant database privileges in phpMyAdmin - Enter inventory_items in the Table name field.
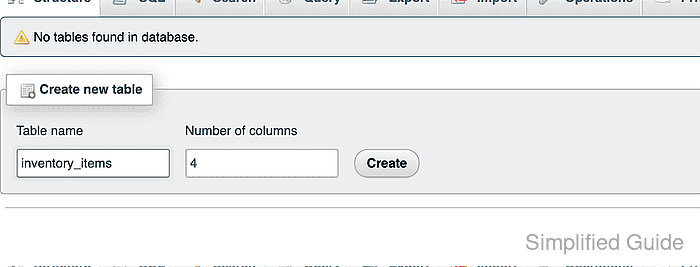
- Enter 2 in the Number of columns field.
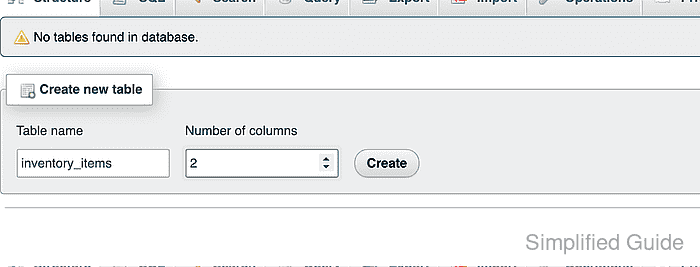
- Click Create to open the column definition form.
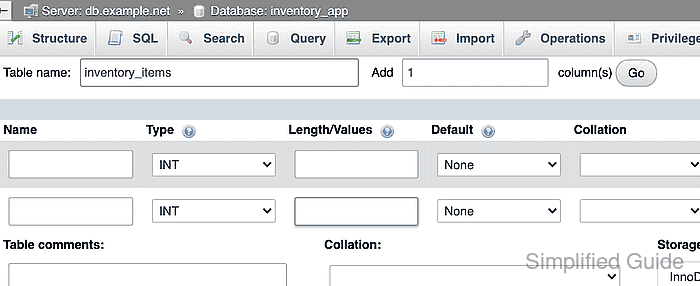
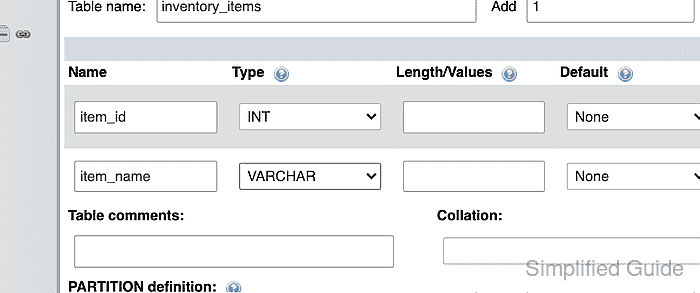
- Enter item_id as the first column name.
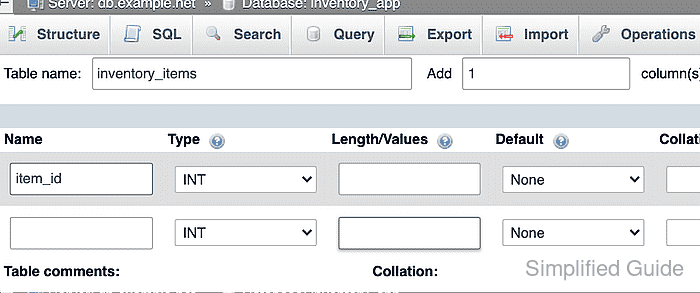
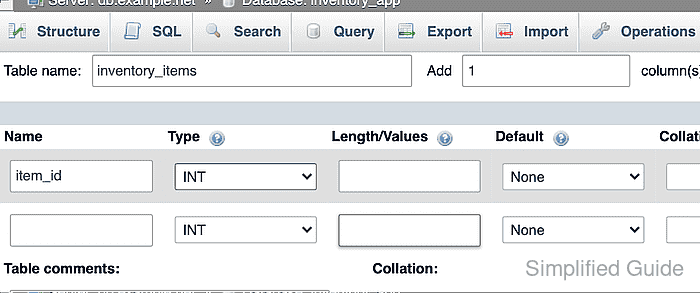
- Select INT as the item_id data type.
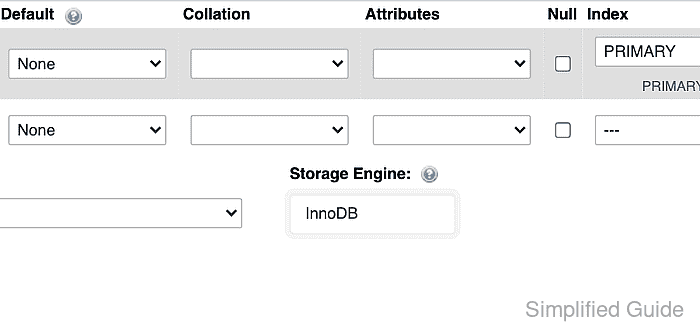
- Select PRIMARY from the Index list for item_id.
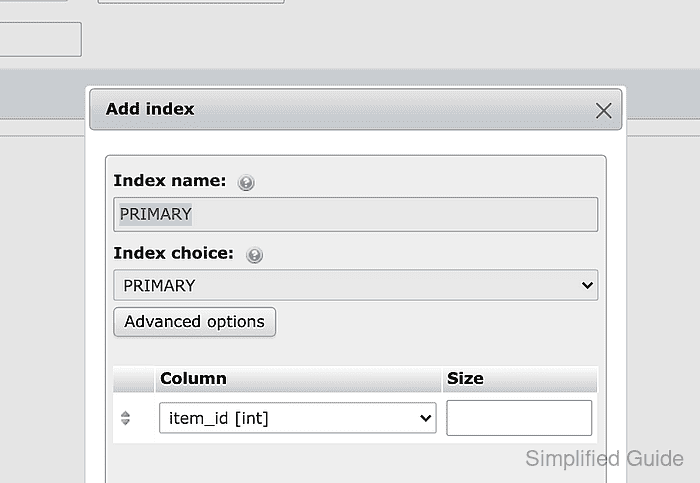
- Click Go in the Add index dialog.
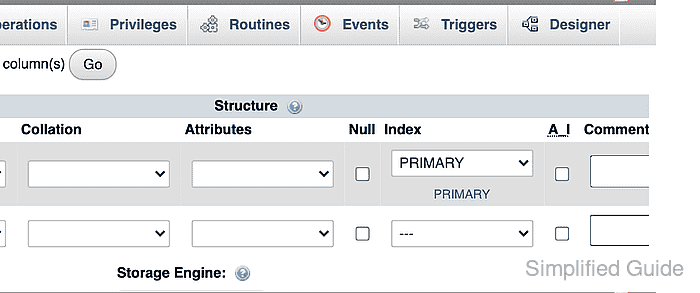
- Enable A_I for item_id.
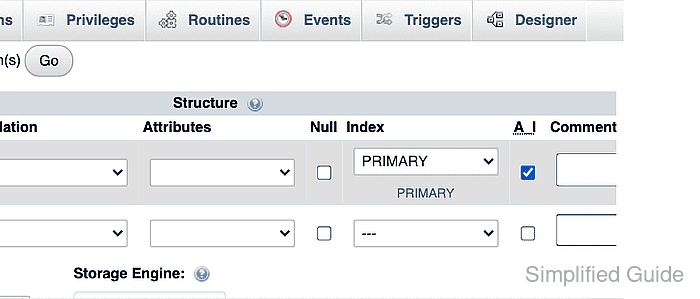
A_I applies AUTO_INCREMENT, so the database assigns the next identifier when a row is inserted without an item_id value.
- Enter item_name as the second column name.
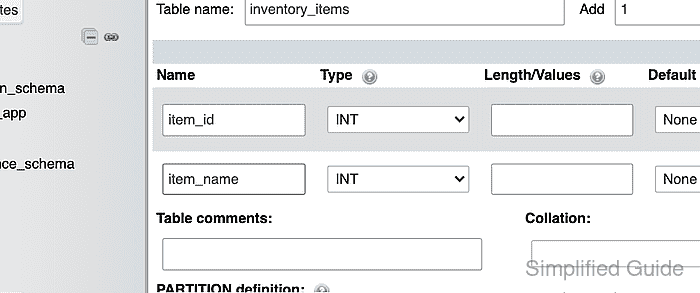
- Select VARCHAR as the item_name data type.
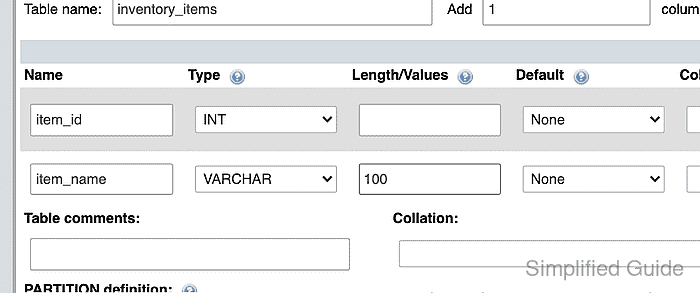
- Enter 100 in the Length/Values field for item_name.
- Select InnoDB from the Storage Engine list.
- Click Save to create inventory_items.
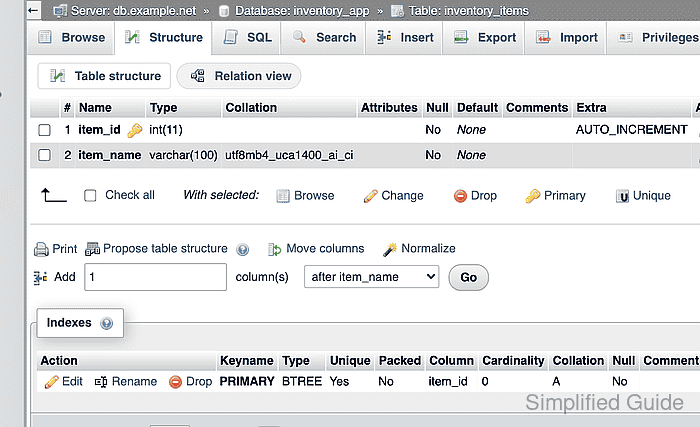
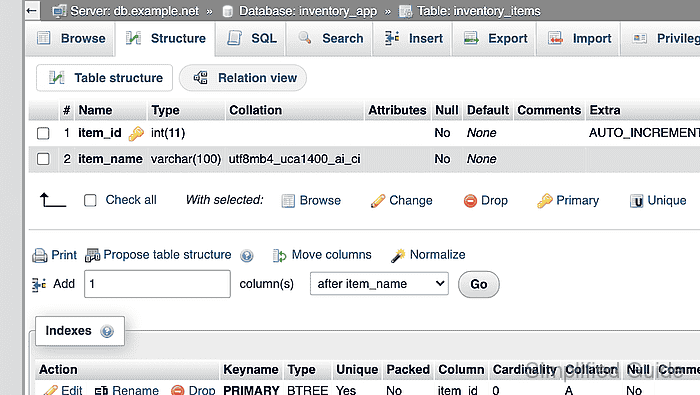
- Open Structure for inventory_items.
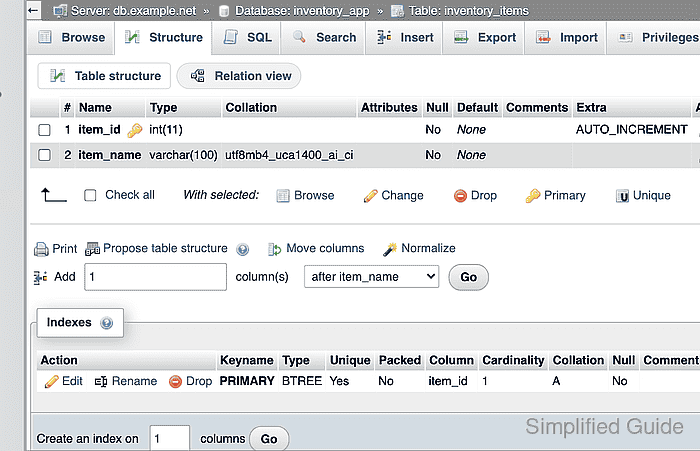
- Confirm the structure lists item_id as an INT primary AUTO_INCREMENT column and item_name as VARCHAR(100).
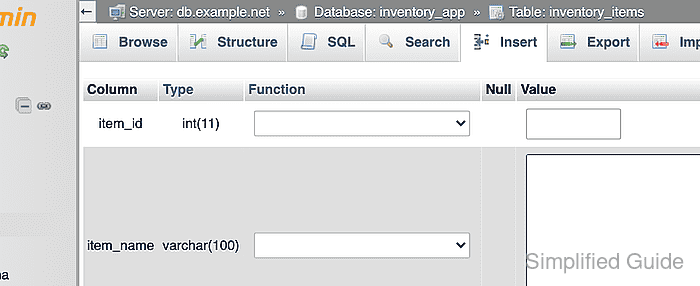
- Open the Insert tab for inventory_items.
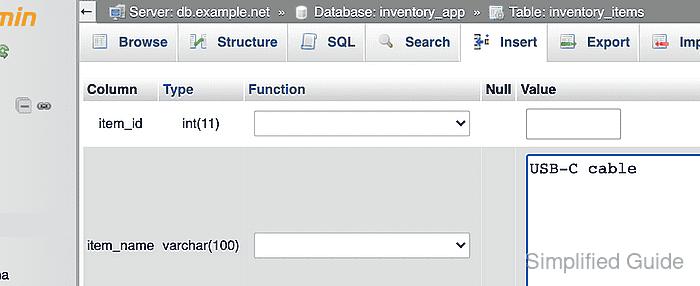
- Enter USB-C cable in the item_name value field.
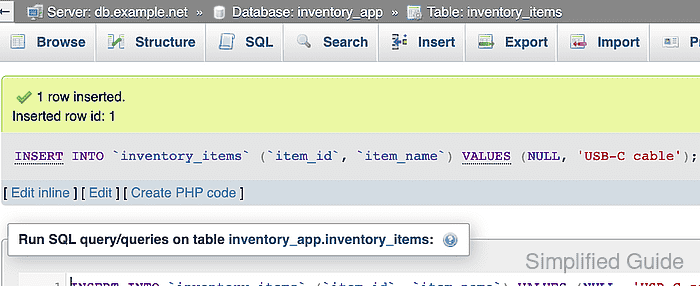
- Click Go to insert the row.
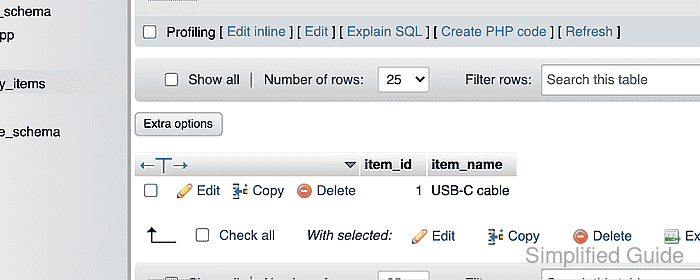
- Open the Browse tab for inventory_items.
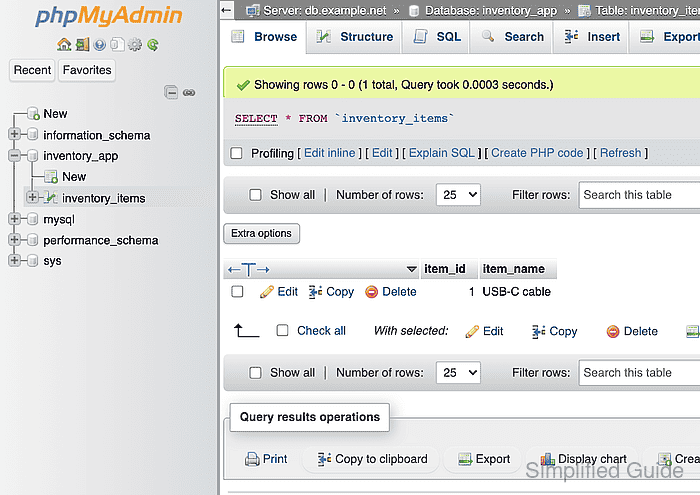
- Confirm the result row shows 1 under item_id and USB-C cable under item_name.