How to create a notebook in Jupyter Notebook
The Jupyter Notebook file browser is where a new .ipynb document starts before code, notes, and outputs are added. Creating the notebook from the browser keeps the file in the current server folder and connects it to one of the kernels registered with that server.
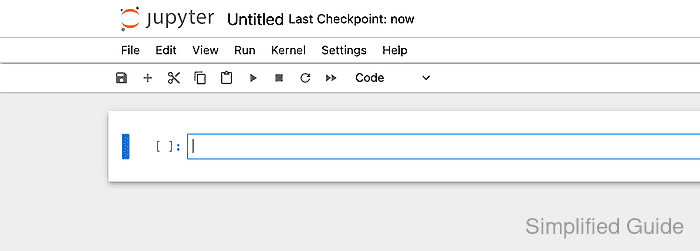
Notebook 7 uses a New menu in the file browser for notebooks, files, folders, terminals, and consoles. Selecting Python 3 (ipykernel) creates a blank notebook, opens it in a browser tab, and starts a Python kernel for the first code cell.
The default Untitled name is safe for a quick scratch file, but renaming it immediately avoids duplicate Untitled1 files and makes the file easier to find later. The saved state to check is the renamed .ipynb file listed in the same file browser folder.
Steps to create a notebook in Jupyter Notebook:
- Open the Jupyter Notebook file browser in the folder where the notebook should be saved.
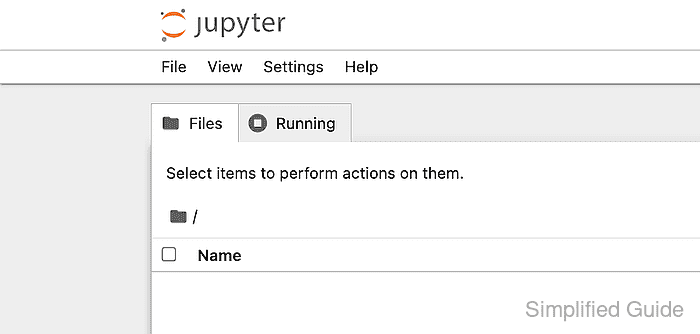
Use File → Open… from an existing notebook if the file browser is not already open.
- Click New in the file browser toolbar.
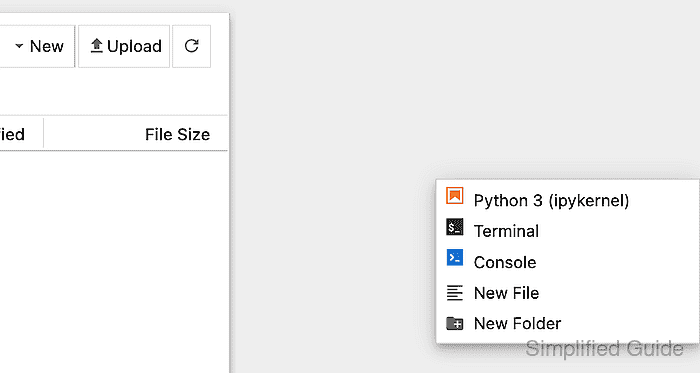
- Select Python 3 (ipykernel), or choose the kernel that matches the project.
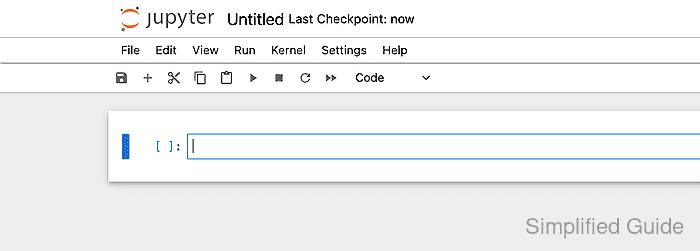
The new notebook opens in a browser tab and starts with an empty Code cell.
- Click the Untitled notebook name, enter analysis-demo.ipynb in New Name, and click Rename.
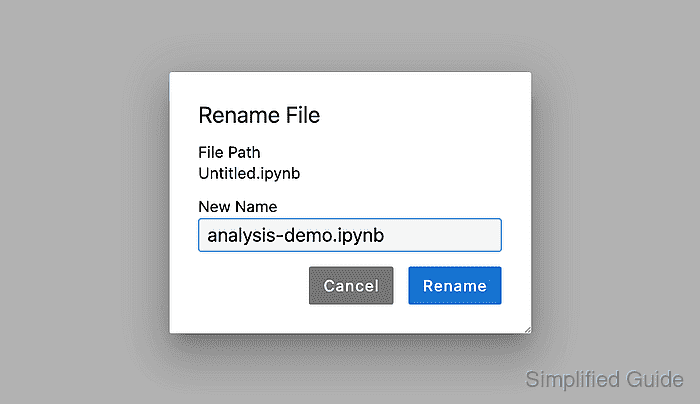
Keep the .ipynb extension so Jupyter keeps treating the file as a notebook.
- Check the notebook title after the rename finishes.
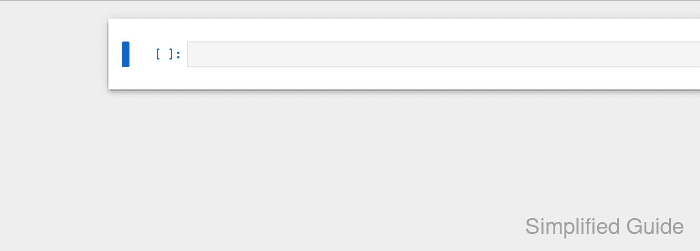
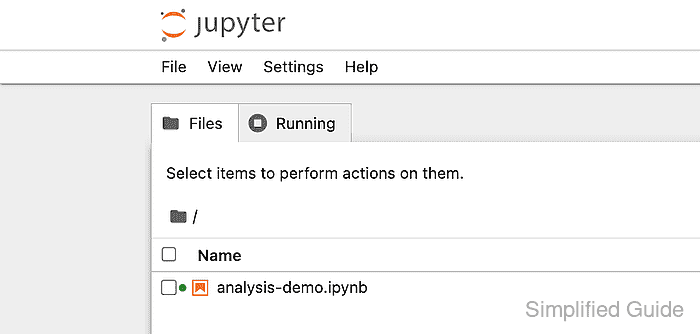
- Return to the file browser and verify analysis-demo.ipynb appears in the same folder.