How to render Markdown cells in Jupyter Notebook
Markdown cells turn notebook notes into formatted headings, lists, links, emphasis, and equations beside the code they explain. They fit notebooks that need readable context for analysis checkpoints, report sections, or handoff notes instead of plain comments scattered through code cells.
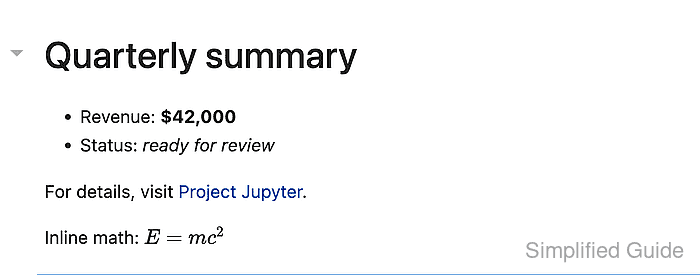
In Jupyter Notebook 7, a cell renders according to its type. A Markdown cell shows source text while it is being edited and converts that source to rich text when the cell runs; a Code cell sends its text to the active kernel instead.
Rendering proves the cell type and the Markdown syntax at the same time. The target state is a visible formatted cell in the open notebook; saving, exporting, or sharing the notebook can happen after the displayed text matches the intended format.
Steps to render a Markdown cell in Jupyter Notebook:
- Click the notebook cell that should hold formatted text.

Use an empty cell or convert an existing text-only Code cell. Existing Python text in the selected cell will no longer run as Python after the type changes.
- Change the selected cell type to Markdown.
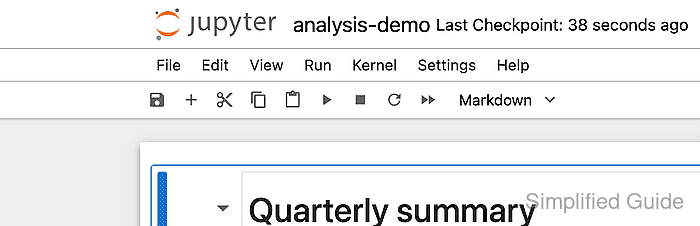
Use the toolbar cell-type selector, or press Esc and then M while the cell is selected.
- Enter the Markdown source in the cell.
# Quarterly summary

- Revenue: **$42,000**
- Status: _ready for review_

For details, visit [Project Jupyter](https://jupyter.org).

Inline math: $E=mc^2$
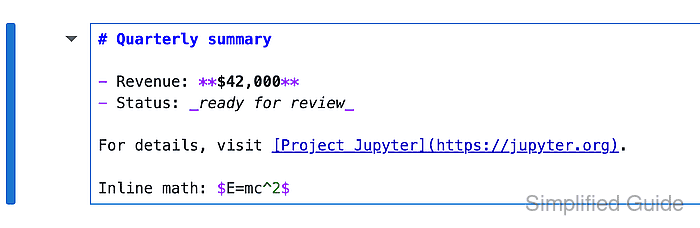
Jupyter Notebook supports headings, lists, links, emphasis, fenced code blocks, raw HTML, and MathJax-aware TeX expressions in Markdown cells.
Tool: Markdown Previewer - Run the Markdown cell and verify the source changes into formatted text.
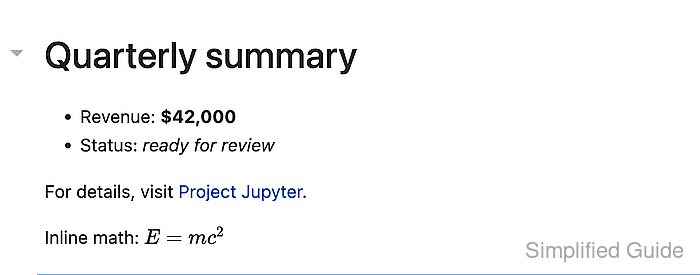
Press Shift+Enter or click the toolbar run button. Double-click the rendered cell to edit the Markdown source again.