How to change the kernel in Jupyter Notebook
A Jupyter Notebook kernel is the running process that executes notebook cells. Changing the kernel moves an open .ipynb file to a different execution environment, which matters when a notebook should run in another Python virtual environment, a project-specific package set, or another installed language runtime.
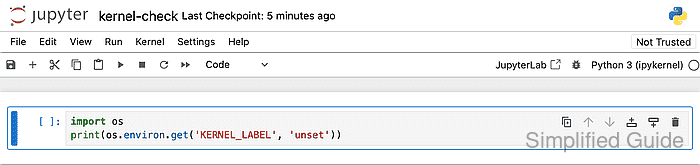
Notebook 7 shows the active kernel name in the top toolbar and opens the kernel picker from the Kernel menu. The picker only lists kernels registered with the same Jupyter server, so missing environments need to be added before they can appear.
Switching kernels affects later cell execution, but it does not rerun existing cells or preserve variables from the previous kernel. A short verification cell after the switch confirms that new work is running in the intended environment before the notebook continues.
Steps to change the Jupyter Notebook kernel:
- Open the notebook that should use another kernel.
- Open Kernel → Change Kernel….

- Select the target kernel and click Select.
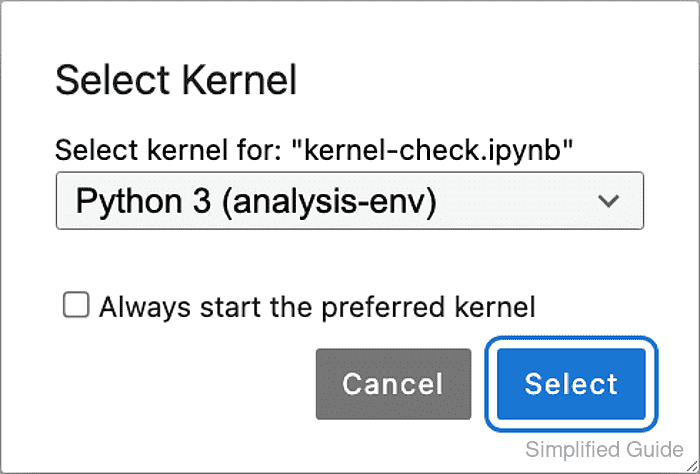
Only kernels registered with the current Jupyter server appear in this list.
- Check the kernel name in the notebook toolbar.
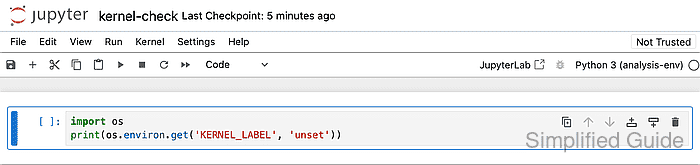
Save the notebook after the label changes if the file should reopen with this kernel.
- Run a cell that prints a value unique to the selected kernel.

Use sys.executable, import package_name, or an environment marker from the kernelspec. The output should identify the target environment rather than the previous kernel.