How to install Elasticsearch on CentOS, RHEL, or Fedora
Installing Elasticsearch on CentOS, RHEL, or Fedora uses Elastic's RPM repository to place a self-managed search node under the platform package manager. It is the RPM-based path for a local development node, application search testing, or the first host that will later be joined to a larger cluster.
The official RPM package installs the elasticsearch.service systemd unit, a bundled OpenJDK runtime, default configuration, package environment settings, data storage, logs, and reset or enrollment tools in standard RPM locations. The first package startup also enables security by default, creates TLS material, and expects local API checks to use HTTPS on port 9200.
Elastic's 9.x RPM repository is disabled by default, so package installation explicitly enables the repository for the transaction that needs it. Current Elastic host guidance expects vm.max_map_count to be at least 1048576; package scripts try to configure this automatically on systemd hosts, but confirming the value before the first full start avoids a common bootstrap failure. Keep the initial verification on localhost unless the node has already been configured for remote clients or multi-node discovery.
Steps to install Elasticsearch on CentOS, RHEL, or Fedora:
- Import the Elasticsearch package signing key.
$ sudo rpm --import https://artifacts.elastic.co/GPG-KEY-elasticsearch
No output indicates the key was imported successfully.
- Save the official Elasticsearch RPM repository definition.
[elasticsearch]
name=Elasticsearch repository for 9.x packages
baseurl=https://artifacts.elastic.co/packages/9.x/yum
gpgcheck=1
gpgkey=https://artifacts.elastic.co/GPG-KEY-elasticsearch
enabled=0
type=rpm-md
Write this content to /etc/yum.repos.d/elasticsearch.repo. The disabled repository setting prevents routine system updates from upgrading Elasticsearch unless a command explicitly enables the repository.
- Install Elasticsearch from the RPM repository.
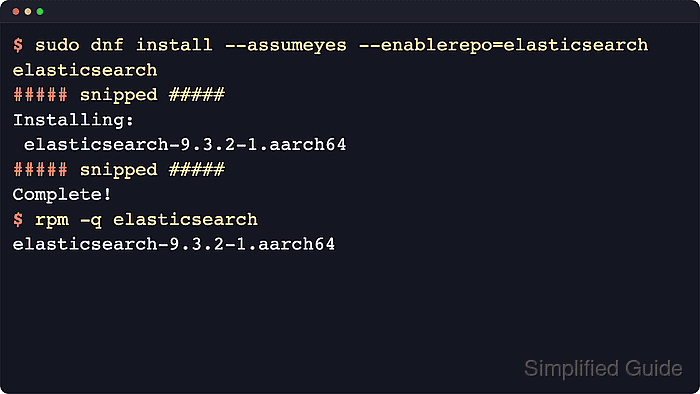
$ sudo dnf install --assumeyes --enablerepo=elasticsearch elasticsearch
Package        Arch    Version   Repository         Size
Installing:
 elasticsearch aarch64 0:9.4.2-1 elasticsearch 984.8 MiB
##### snipped #####
Complete!
Use dnf on Fedora, RHEL 8 and later, and current CentOS Stream releases. Use sudo yum install --assumeyes --enablerepo=elasticsearch elasticsearch on CentOS 7 or RHEL 7.
- Confirm that the installed RPM is registered.
$ rpm -q elasticsearch
elasticsearch-9.4.2-1.aarch64
The architecture suffix reflects the host, such as aarch64 or x86_64.
- Check the current vm.max_map_count value.
$ sysctl vm.max_map_count
vm.max_map_count = 262144
Current Elastic guidance expects 1048576 or higher.
- Persist the recommended vm.max_map_count value when the reported value is lower than 1048576.
$ echo "vm.max_map_count=1048576" | sudo tee /etc/sysctl.d/99-elasticsearch.conf
vm.max_map_count=1048576
A local sysctl file keeps the limit explicit even when package-level sysctl handling is skipped or overridden.
- Reload sysctl settings.
$ sudo sysctl --system
##### snipped #####
* Applying /etc/sysctl.d/99-elasticsearch.conf
- Confirm the effective virtual memory map limit.
$ sysctl vm.max_map_count
vm.max_map_count = 1048576
- Reload the systemd manager configuration.
$ sudo systemctl daemon-reload
The RPM installs /usr/lib/systemd/system/elasticsearch.service, and reloading systemd makes the new unit available immediately.
- Enable Elasticsearch at boot and start it now.
$ sudo systemctl enable --now elasticsearch.service
Created symlink /etc/systemd/system/multi-user.target.wants/elasticsearch.service -> /usr/lib/systemd/system/elasticsearch.service.
First startup can take time while security auto-configuration creates TLS certificates and enrollment material.
- Confirm that the Elasticsearch service is active.
$ systemctl is-active elasticsearch.service
active
If the unit does not become active, inspect /var/log/elasticsearch/elasticsearch.log for the application startup error.
- Generate a fresh password for the built-in elastic superuser when the install transaction password was not saved.
$ sudo /usr/share/elasticsearch/bin/elasticsearch-reset-password -u elastic
This tool will reset the password of the [elastic] user to an autogenerated value.
Please confirm that you would like to continue [y/N] y

Password for the [elastic] user successfully reset.
New value: <generated elastic password>
Store the generated password securely because the elastic user has full administrative access to the cluster.
- Test the secured HTTP endpoint with the generated CA certificate.
$ curl --cacert /etc/elasticsearch/certs/http_ca.crt -u elastic https://localhost:9200
Enter host password for user 'elastic':
{
  "name" : "node-01",
  "cluster_name" : "elasticsearch",
  "version" : {
    "number" : "9.4.2",
    "build_flavor" : "default",
    "build_type" : "rpm"
  },
  "tagline" : "You Know, for Search"
}
Use https and the generated /etc/elasticsearch/certs/http_ca.crt certificate. Plain HTTP, or HTTPS without a trusted CA certificate, fails on a default secured package install.